Thursday, January 10, 2013

ink-shade testing

I am trying to prepare for a an 8 page comic entry to a anthology.  The story I will illustrate features a girl with lots of dark hair. Therefore,  I decided to test my self trying to ink without the pen tool to see if I was steady enough for some details.  I decided I must start with a clean enough rough including hair contours. This rough was placed on the background layer- then I inked ( using a Wacom and photoshop) the dark line without using the pen tool which can be used for inking in digital comics- my focus was to see if I can  get close to getting a consistent line with my shaky hands.  Any loose lines were erased.
I treated hair on a separate layer since this is my weak point....  I approached this by coloring the hair completely in black and then erasing areas that corresponded to the rough hair contours.   I lowered the opacity of the hair layer so I could see the rough drawing underneath, during this process.  I looked at some anime style hair and how Terry Moore created hair for his characters in Strangers in Paradise as reference.
he flatting an shading process were done on layers beneath the line layer and above the background. I flatted whole areas of the skin and clothes. I could then use the selections in the flat layer to  contain shading and highlights placed on another layer..

That's it...- attached are the progressive steps in the animated gif

Friday, January 4, 2013

hands in pose

one of my instructors stated my hands were getting a little wonky- so I will be working on hand poses-- here is a sample

Thursday, January 3, 2013

comic-face-drawn-ink-shade

Okay I need to prepare for an upcoming comic segment for a Detroit Tradecraft anthology we are prepping for the Detroit Motor-City Convention. I did this progressive to show some progress.  My first assessment of this image is that I drew really tight so the inking and shading go more smoothly-I did not show preliminary drawings in order to focus on ink and paint process.  I will need to improve my shade process but that may have to be sorted on on the job... anyway- take a peak and comment... thanks-


Tuesday, December 25, 2012

looking at Youtube- color and overlay layers

I was watching you tube today and saw a way to color images that are rendered in black and white using a color and overlay layer at low opacity- so I decided to give it a try on this quick render-it works but as stated the render layer must be filled completely so it won't color spotty.
I still needs some work on my rendering but I got a sense of form- gotta keep working... enjoy sasquatch- will make the next one a progressive...

Thursday, December 20, 2012

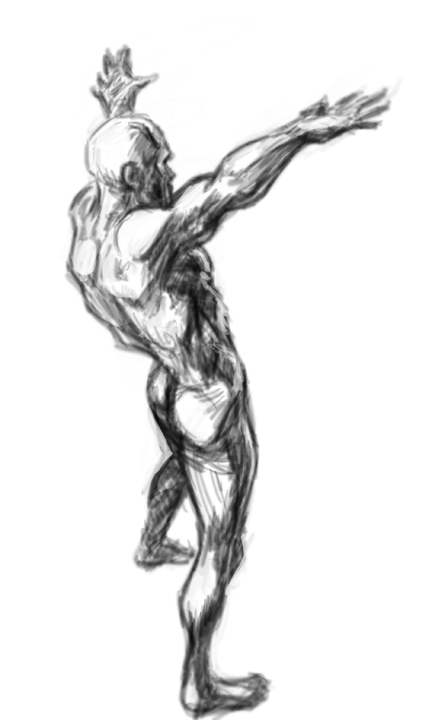
just sketching

just sketching while listening to schoolism interview with william stout

Friday, December 7, 2012

color composition- face progression


Okay, I was racking my brain to determine a way to put out color compositions with clean enough lines and rendered colors adequate enough for presentation storyboards. I looked on several websites of working storyboard artists.   Some were really sweet, with nation-wide contacts and references and some were not  so sweet but consistent and clean.   In other words, art varies greatly from person to person.  I figured out, then and there, that I needed to devise a method for me that works with my style and will be considered world class... Sweet,clean, and consistent.... The following progressive is my first attempt at getting this look- step1: create non-white background-2 Sketch a face loosely and do feathering as needed to identify planes of the face that will be rendered in color- 3 tighten up features that will be described as line later- ie not all cross-hatching should be tightened up- the idea is less lines are more- 4 -finish line in black  (100% opacity, 100% flow)- idea is economy of lines-5 create a color render for the face- effectively I selected the face alone and use big brush strokes  ( at low flow) for main tint and shadow-highlights were done with smaller brush- following the crosshatched lines denoting the planes of the face. 6 placed hair on the image ( this I still need to work on but the idea was work with 2-3 colors for the hair. 7 the last stage is hide sketch layers for finished look

Sunday, December 2, 2012

anatomy-sketch- mistake check

As stated earlier I have some size issue i have to work out- as can be seen in the animated gif of two alternating images on a nude i did yesterday- sorry yes nude- aside for the nudity you get the drift of areas i need more practice in- I will be going through a couple of anatomy landmark studies to hopefully eliminate this issue...